Screen Printing 101
|
When we started RetroDuck in 2003, we had no idea what screen printing was. We were in the business of vintage t-shirts, and though we'd had custom t-shirts
made before, the concept of screen printing (also known as silk-screening) was completely foreign to us. This posed a bit of a problem when, in 2004, we decided
to get into the business. We had to learn from the ground up, which ended up being a good thing. Though the process hasn't changed much over the years, the
equipment and materials used in the process are constantly evolving.
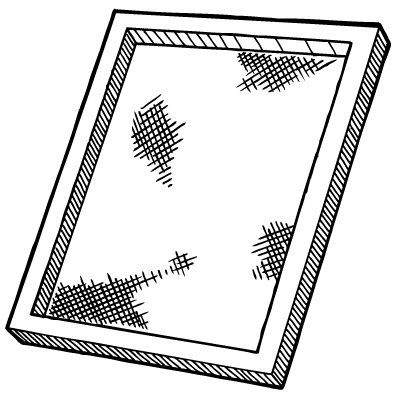
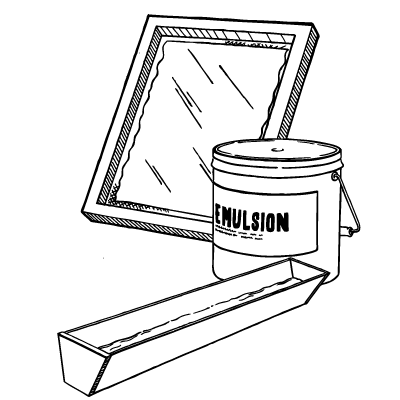
The basic elements of screen printing are very simple, and the first screen prints appeared as early as the first century. Many works of art over the years have been produced using screen printing, probably most famously Andy Warhol's works featuring Marilyn Monroe. When you screen print, you are basically making a stencil. The materials are:
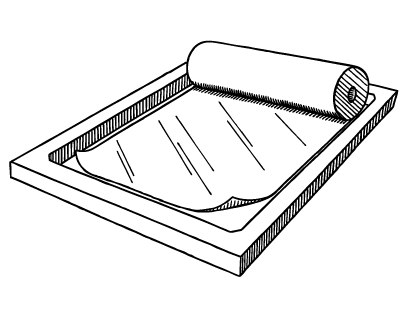
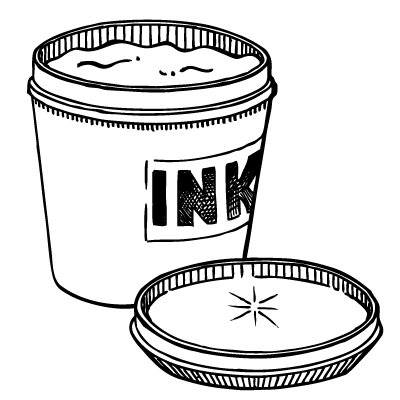
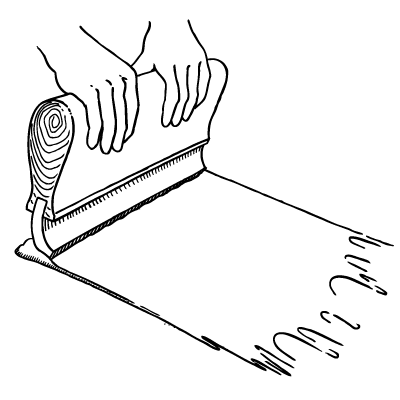
You'll also need a source of exposure. Many people use natural light to "expose" a screen, but most professionals use either an ultra-violet or halogen light. "Exposure Units" can range from simple homemade units, to large vaccuum sealed units costing several thousand dollars. Other items: Professional shops typically use many more items, such as belt dryers, flash-drying units, and other items. There are a lot of choices for screen printing apparel, but now you know the basic elements! Here's how it works: starting with a clean screen, you apply your emlusion. This can either be liquid emulsion, or sheets of pre-dried emulsion; there are many different options. Next, you apply your image to the screen, typically secured with simple scotch tape. Now you are ready to expose. You will use your chosen exposure method, which will harden all emuslion that light touches. While the light hardens the emuslion, your image will block light wherever it touches the emulsion. Once your exposure period is done (the amount of time will vary based on your emlusion and exposure method) all emulsion that the light has touched will remain on the screen. All of the emulsion that has been blocked by your image will have remained soft, and will be sprayed out with water. As long as your exposure was successful, there will be a perfect replication of your image left in the screen. You will now use a squeegee to push ink through the screen on to your t-shirt, beer koozie, or whatever your want to print. This is a greatly oversimplified explantation of the process; there is a lot of trial and error, and there is a bit more to it, but that's the basic process! If you are ever interested in learning more, we know a bit, so just ask us! |